Monday, February 17, 2014

The Best Corn Bread Ever


It has been several years since I made corn bread.  Meanwhile, during a cleaning and organizing mood I got rid of unused and lightly used cookbooks.  One of them had our family's favorite corn bread recipe but that was the only recipe I used out of that book. I specifically remember tearing that page out and keeping it. 

A day before the Super Bowl I decided to make tiny cornbread footballs for my son's Super Bowl party. He was making his secret Chili recipe that he won't share with me even though I have begged.   Alas, I could not find the corn bread recipe our family liked way back when. The main thing I remember about that recipe was that it had half all purpose flour and half cornmeal and no canned or frozen corn; which I don't prefer.

So I looked through all my cookbooks and tried several.  


The attempt that day was okay, but then I was on a tare to find a recipe we really liked.  

The first photo shows the mini footballs in the Demarle Boat Tartlet Tray.  The photo below is more of the cornbread in the small star tray which I also thought was fitting for the Super Bowl party.  These had jalepenos in them and sauted leeks.  I liked them but other's didn't.


Since then we and our guests have endured several attempts, some of which were bad.   I liked the jalepeno version but no one else did so that was a no go.  Then just two days ago my daughter and son in law let me know they have a favorite at their house.  It is Taste of Home Sweet Corn Bread.  They have a cherished copy of a Taste of Home Cook Book which they received as a wedding gift.

Last night I made the recipe and we agreed with them it is the best recipe ever...even better than the old one I could no longer find.

Of course I was not satisfied with that because whenever possible I like to make food with less white flour and sugar. So being my predictable self, this morning I made that recipe again but with some changes and decided it is the second best corn bread I’ve ever had.  This will probably be repeated in our house more than the original version because it is healthier.

1 cup Prairie Gold whole wheat flour (instead of all purpose)
1 cup cornmeal (Bob’s Red Mill, Medium Grind, Stone Ground)
1 Tablespoon sugar (instead of 1/4 cup) (next time I'll use honey)
1/2 teaspoon baking powder (aluminum free)
1/2 teaspoon baking soda
1/2 teaspoon sea salt (instead of refined salt)
1 egg, lightly beaten
1 cup sour cream (not light)
1/2 cup skim milk (instead of 1/3 c 2%)
1/4 cup butter, melted (do not substitute margarine)


Preheat oven to 400°. In a large bowl, combine flour, cornmeal, sugar, baking powder, baking soda and salt. In a small bowl, whisk egg, sour cream, milk and butter; stir into dry ingredients just until moistened.  Divide into 12 space Demarle heart tray.  Bake for 18 minutes at 400 degrees.


There was a little left over which didn’t fit in the heart tray so I thinned the remaining batter with milk and made into two pancakes for my husband's breakfast and he liked it enough to be repeated.

This is for today's lunch.  Left over cornbread from three different recipes.  The best one is on the far right...last night's version.  Not today's version which were sent off to friends for their breakfast and I forgot about a photo.


Wednesday, January 22, 2014

Eggs Baked in Demarle Bouquet Tray


 Lunch, later that same day:
Salad:  Baby greens, baked egg, tomato candy (see post from 3-17-13), chopped pecans, Kerry Gold Dubliner Cheese, Demarle Roasted Garlic, Rosemary Dressing.

Monday was a school holiday so we had time for a little fun in the kitchen.  Over the weekend I got farm fresh eggs from a friend and wanted to use those lovely bright yellow gifts in a special way.


It has been awhile since I baked eggs and I only goofed it a little...forgetting to preheat the oven.  So I can't tell you from this experience how long to bake the eggs...especially since our teenage son came along and opened the oven door with the question, "Are they done yet?"  I'd already opened the oven door a few minutes earlier to check out how they were doing.  Between not preheating the oven and two extra oven openings, it took about 20 minutes.  My notes from the time before were like this:  Bouquet Tray, eggs, 350 degrees for 11 minutes for soft yolks or 15 minutes for hard yolks.  That of course was assuming the oven was preheated.

Note:  No greasing is required.  They pop right out after baking without grease or oil.

This is what they looked like before going in the oven with sea salt haphazardly sprinkled and fresh ground pepper:


 After taking out of the oven

And after turning out onto a plate:

 And later, added to my salad for lunch.  Okay, I didn't eat the salad dressing quite like this. 

The baked candy tomatoes had been in the freezer so while waiting for those to defrost, I made the dressing from a Demarle spice: Roasted Garlic with Rosemary.


I used two tablespoons white wine in the mixture this time but did not care for it as much as last time I made this mixture without it.  

One cup mayo, one cup sour cream, one tin of Demarle Roasted Garlic and Rosemary spice mix. Stir and serve.

That was a little too fast, because the roasted candy tomatoes were still frozen so I unloaded and loaded the dishwasher while I waited.

What an easy and gourmet lunch.  Should have had a friend over because it would have been more fun.


Tuesday, January 14, 2014

Glitzy Tablecloth

This evening while my husband was out I made a table cloth.   The fabric has been sitting in a pile since last summer with the idea to make a sequin table cloth to go with my husband's mother's white and silver Noritake.  The reflection of light is great.


Wednesday, January 1, 2014

Demarle Order 1-20-14


Once a year I put in a Demarle order and it is usually in January.

So on January 20th I will put in an order for any of you who want to place an order.

Here are the January specials:
http://origin.library.constantcontact.com/download/get/file/1011294776134-1084/January+Specials.pdf

Also, here is a link to the catalog if you want to pick something out that is not on special:
http://vimaxmedia.com/emags/Demarle/12cat/


Excellent video:
http://www.youtube.com/watch?v=Z7PfOEQpxGg


Contact me if you are interested in ordering at 509-522-1632..

Sunday, December 22, 2013

Santa Hat Cupcakes in Demarle

Last Sunday's Potluck was amazing.   Our hostess made a huge pot of hamburger soup and homemade rolls as only she can make them. Others contributed salads and desserts in such a tempting array.

We took a dessert.  I wanted to take something to do with the season.  Looked around Pinterest for a few minutes and came up with this santa hat cupcake idea.  But because I like to use Demarle trays and molds you know I was going to put my own twist on it.


A requirement for our family is that dessert includes chocolate.  This recipe is for black bottom cupcakes which I blogged about last year.  Well upon further investigation I find I have not really blogged about this recipe.  This is hard to comprehend because it is our family's favorite dessert and I've made it countless times.

This time I used my new fancy dancy ISI (The brand matters) whipped cream dispenser.  But unless you plan on serving this dessert right away, don't do this.  By the time we served it at the potluck the whipping cream had melted away.  Next time I will use frosting to finish the hat.   The owner of the kitchen store where I had my birthday gift certificate to spend (this is what I got with it) said when dealing with compressed air, go with this brand of dispenser because others have the reputation of blowing up on you.  This was sound advice I'm sure because other advice has been good in the past.

So now you get the recipe which originally came to me about 20 years ago from a friend who got it from a friend when she was a minister in Alaska.  If you wish for more information on the Demarle trays contact me.

Happiness Pills aka Black Bottom Cupcakes


Cream Cheese Mixture
1 - 8 oz pkg cream cheese at room temp.
1 egg at room temp.
1/3 cup granulated sugar
1/3 tsp. sea salt
1 cup semi-sweet choc. chips

Cake
1 ½ cups all purpose flour, used Wheat Montana non-bromated)
1 cup granulated sugar
¼ cup powdered baking cocoa
½ tsp. sea salt
1 tsp. baking soda
1 cup water
1/3 cup cooking oil
1 Tablespoon vinegar
1 tsp vanilla
1 cup semi-sweet choc. chips

Cream Cheese Mixture: 
Combine all ingredients except choc. chips and beat well.  Stir in choc. chips; set aside.  It might be good to refrigerate this so it gets a little stiffer.  I did not do this step so the cream cheese mixture spread out too much in the mold as you can see in the photo.  It’s too hard to mix together if you don’t have these items at room temperature to start with.

Cake mixture:
Combine dry ingredients.  Combine moist ingredients. Mix together until well combined.  Add chocolate chips.  

For the sake of knowing amounts, I’m going to give the instructions for a Demarle cupcake form such as bouquet, charlotte or muffin tray.

Place about a teaspoon of the cream cheese mixture in the bottom of each mold and then place about 1/8 cup batter on top of it.

Bake for 18 to 20 minutes at 350 degrees.  Cool 10 minutes or place in freezer for a few minutes before turning out of mold.  Cream cheese tends to stick more than other things, so a short freeze is really helpful.

If you choose a smaller mold, adjust your amounts the best you can and bake for shorter times.  Mini Charlotte is 10 minutes and small savarin is 12 minutes.  May need a little adjustment for your oven.  Mine bakes hot.

If you have a small amount of cake or cream cheese mixture left over, you can always put it in a mold by itself so it’s not wasted.

Sunday, December 1, 2013

Chocolate Truffle Making Class at Alexander's

Lemon Truffles With Candied Lemon Peel.  
I actually helped make these.  The flavor is intensely lemony.


A few weeks ago I had the unique opportunity to be the first to attend a truffle making class at Alexander's Classic Chocolates.  I was the only student so it was the best one on one training possible; a positively excellent experience.  About a year ago when I first discovered this chocolate shop I began asking for a class, not knowing if it would happen, when it would happen or why it should happen.  The why part was mainly for the fun of it, but as it turned out it makes me into a more discriminating chocolate consumer plus MUCH more appreciative of the amazing amount of time and attention to detail that is spent on this art.  I called Alex recently once again to inquire about taking a class and he agreed to do it that very week.  This would be a good time to comment on the importance of importunity.  I spoke with him at least three times hoping he would agree to a class...maybe more.

It turned out to be a two day class though it was supposed to be just one.  I went back a few days later to see the rest of the process.

On day one we made raspberry truffles from scratch and got started on the lemon truffles too.  This included making the ganache from scratch with fresh fruit.  More on this later.  On day two we finished the lemon truffles.  I'm sorry to say I didn't take any photos that first day.  We made the raspberry truffles in the square trays.  There was part of the process I could not do because I don't have the strength in my fingers and wrists to hold the tray straight when turning it upside down at exactly the right time to pour the chocolate out of the tray to make the shell which will soon be filled with the ganache then sealed.

Lemon truffles just finished.


Alexander,  one of the owners  is strong in the area of chemistry and took two years of chocolate chemistry. Only a few people in existence have taken this much chocolate chemistry.  I never knew chemistry could be so interesting.  If ever I was going to relate to chemistry, chocolate would be the reason.  He has a very exclusive food chemistry program available to just a few individuals which he uses to make his truffles so precisely and of course from scratch.

Here are some of the tidbits I learned and found interesting.

Mother's should bring their children up to have discriminating taste in chocolate.

Anyone caught chewing gourmet chocolate will not be given seconds.

Vanilla and chocolate have almost the same chemical structure and are very complimentary to each other.  It was interesting to learn less sugar is required to sweeten chocolate when you bring vanilla into the equation.

Chemical structure of chocolate


Never boil chocolate you will ruin it.

There is not even one molecule of caffeine in chocolate.  There is theobromine and it gives a similar effect to caffeine except it lasts longer and has a more subtle effect.

I learned some things about tempering chocolate.  It is best to temper chocolate when making truffles so you get the hard crack when biting into the outside coating.

Here is Alex dipping a lemon truffle in tempered dark chocolate.  
I think this was 72% cocoa.


Chocolate has a mind of it's own (kind of like a child of about age 2, it takes a lot of attention and time) so you have to heat it up to a certain temperature I think it was 113 degrees  (should have taken notes).  Then let it cool to 88 degrees and then bring it up to 91 degrees.  If you don't get the beta crystals with this process, then you can start over.  That's good that you don't have to throw perfectly good chocolate away if at first you don't succeed.  You can seed it to help with this process.  This is like setting a good example for your children to follow.  There were many good lessons to be learned about child rearing when working with chocolate.

Round truffles filled with chocolate lemon ganache and sealed, just waiting to be dipped:


 Garnishes waiting for the lemon truffles:  The first is lemonade powder at the top, 
second is tiny slices of jelly bellies which we sliced with a razor blade and the last one is candied lemon peel made by a company in Italy.

Hardened chocolate from the drippings after dipping.  
This will be collected and tempered again for some other recipe.


Alex garnishing the dipped truffles on the right.  The truffles on the left are waiting for their coating.

The photos above are all from the second day I attended the class.  The first day we prepared the square shells for the raspberry truffles.  He has cocoa butter prints on sheets that you put in the bottom of the tray and then when you turn it over and take it out of the mold you have these perfectly printed truffles.  Here is an example though these are not the ones we did that day.

So now I want to tell you about the ganache.  When I arrived that first day there was a flat of the biggest, plumpest, most perfectly formed fresh raspberries I've ever set eyes on.  We washed those and put them in a large pot to cook down for 2 hours on a low heat.  After two hours it became syrup; smelling wonderful indeed. Then we made a chocolate ganache using that rare program I wrote about earlier in the post which is only available to a few people in the world.  The recipes are quite precise, measuring to the gram; and use only the best ingredients.  One ingredient of note was the raw honey used to sweeten the ganache.  Only the best will do of course and I'd like to let you in on the virtues of White Gold Raw Honey.  It is such a mild honey and gives such an amazing mild sweetness to these truffles.  It is a truly wonderful ingredient.  I want some for my birthday...it is that wonderful.  Imported from Northern Canada.   http://www.whitegoldhoney.com/

But I digress.  We made the ganache and then when the raspberry syrup was ready it was poured into the chocolate ganache and then left to cool to a very exacting temperature so when it was poured into the shells we had made they would not melt.  Once they reached the right temperature we sealed the ganache in and then all was left to cool.  We hurried the process along on just one tray of raspberry truffles so I could take some home.  It was too fast though and those would not be fit to sell because of the crack where the seal broke because the ganache was not cooled properly.  But that was just my tray and they certainly were wonderful tasting over the next few days.

While the raspberries were cooking down we started on the lemon syrup.  The first step was to wash and zest about 15 lemons.  Then once the zest was saved we juiced all the lemons and cooked it all down for two hours.  Oh man did it ever smell amazing in there.

So when Alex makes wine truffles which are truly wonderful, he makes the syrup out of two bottles of wine.  Other chocolate shops just put a couple tablespoons of wine in the ganache and I think this business of taking the fruit or wine and cooking it down at a low heat for a couple hours makes for some of the most amazing flavors ever.  Now I am beginning to understand why I am drawn to this chocolate shop.  It really is better than any I've experienced.

It was a fascinating time I had learning from this chocolate master, Alexander.


Tuesday, October 8, 2013

Bouzies Bakery Tour

It has been a busy month (you've never heard THAT before, have you?) and I really intended to get this post up long before now.  Even better I intended to learn to make this amazing ciabatta bread.  It's still on my list of things to do.

As I said in my last post, Tara of Bouzie's Bakery was friendly and fun.  After she and the little one gathered eggs, she invited us right in to see the bakery.  She was making a specialty cracker they do not sell to anyone except Luna for their wonderful cheese boards.  But we were able to see part of the process and then taste the results.

 This is what we saw first, several large trays of crackers waiting to be baked.


Here Tara is mixing four types of seeds to sprinkle on the crackers.


Next she spritzed the crackers with water.

Then she sprinkled the seed mixture over the crackers

 I can only remember two of the seeds she used.  Flax and sesame...but there were two more.

Then Tara took us into the other room where they have this huge steam injected oven.  She says this oven makes the difference between a mediocre bakery product and an extraordinary product. So I know that even if I do everything else right I'm not apt to have the oven so my bread is not going to be this good.  I will have to live with this fact and it's probably good because I would just eat all the more.

Here are the crackers that were finished.  It only took a few minutes.


There next to the oven were racks and racks of finished bread.  The rack on top was the fluffiest English muffins I've ever seen.  We bought a bag and ate them for breakfast the next day.  YUM!


Kind Lady Tara:

The story of Bouzie Bakery:  The owners spent some time in the small village of Bouzie France.  It is a cozy community where much bartering takes place.  They so enjoyed the experience and decided to create a bakery in Spokane to try and recapture the experience as much as possible.

That night at dinner we had ciabatta bread on the table:
with Cristie's delightful salad and pasta.

One of the tips she shared with us is when making up the Ciabatta dough it is more like a pancake batter consistency than a bread dough.  Then it is beat on high for 30 minutes to make the long gluten strands.

In this photo they were making scones.

Ummm...that mixer was over 4 feet tall.

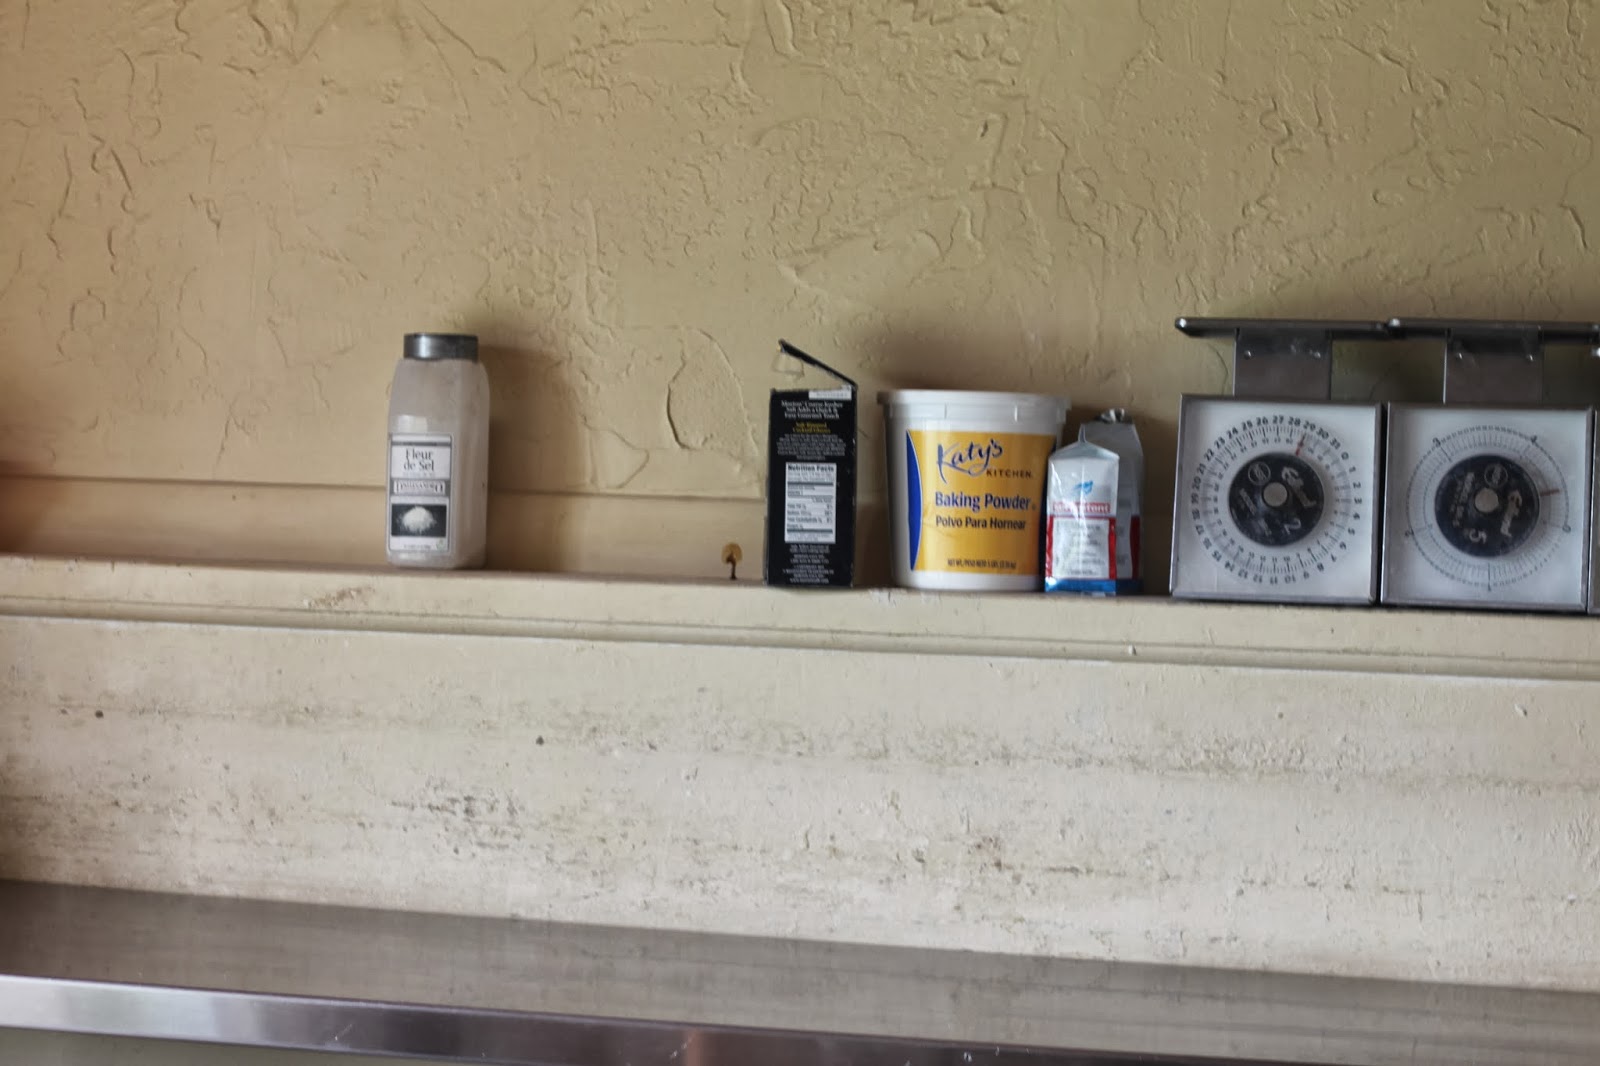
Simple ingredients in this bakery include Fleur de Sel...

and extra virgin olive oil.... but most importantly, non-GMO flour and no synthetic sugars.